Microsoft Business Central
Setting up Key Personalizations
The aim of this change is to allow the user to define a set of personalization which will be
utilised by the persons using the same profile. A very important note here is that the
personalization is define at profile level.
Approaches to Personalization
Directly from Settings
Profile (Roles)
Directly from Settings
Click on the settings button on the top right corner of the screen. Then from the drop-down menu click on Personalize.
This process allows the user to personalize the page that is currently opened. To extend the options, you might need to click on more, for more options. The user can click on “+ Field” to add new fields on the page. Also, when the mouse is hovered around a field, an arrow appears at the top right corner of the field and from there the user can either freeze the pane, move it to preferred place, or remove it entirely. When personalization is completed, click on done. However, the user can click on clear personalization to clear the changes that have been made.
Profile (Role)
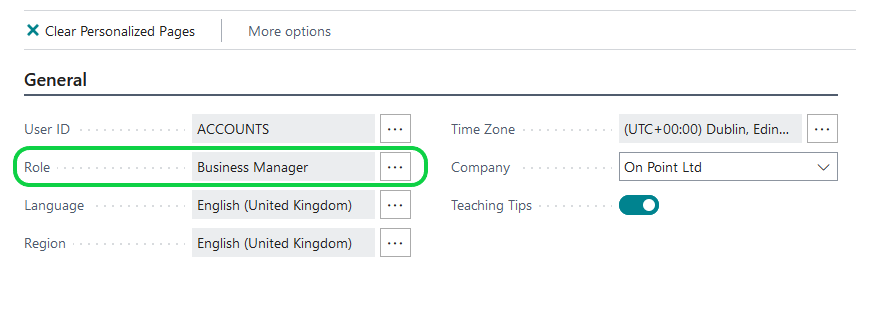
The user may choose to set a particular form for a specific role. With this the user must change their current role to the specific role they desire to set a customization for and then customize the pages as they deem it.
To change their role, the user must follow the steps below.
Starting off the Personalizations
The process may be started off by:
Clicking on the search button, search for Profiles (Roles)
Click on the Profiles (Roles)
Click on Related then click on User Personalization List
Select the user you want to change the role of
Change to role to your needs
Important
These personlizations will be transferred over to the user who are using the same profile
The user may still decide to amend their own personalizations.


